👋 G’day {{first name | friend!}}
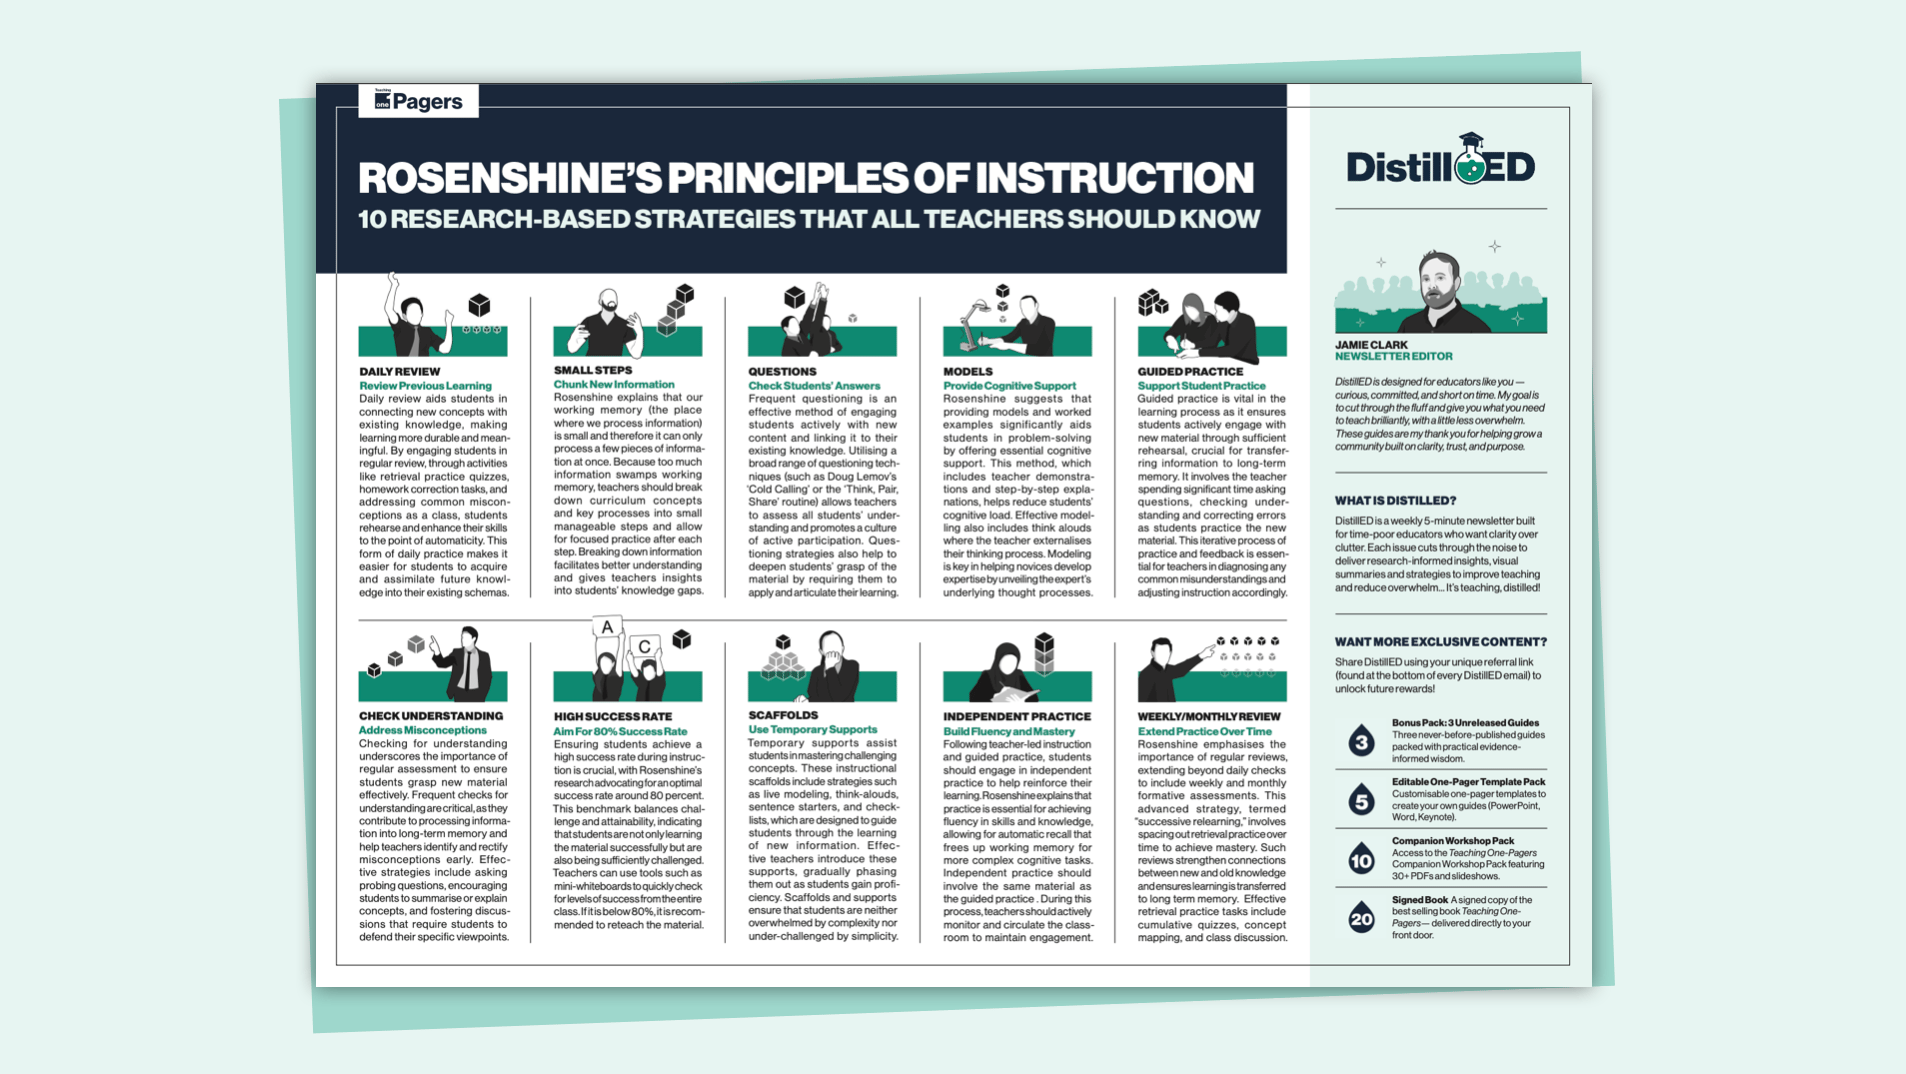
In this edition of ⚗️DistillED, we explore Providing Models—Barak Rosenshine’s fourth Principle of Instruction. Modelling makes expert thinking visible, reduces cognitive load, and shows students exactly what success looks like. From worked examples to think-alouds, it’s all about guiding learners step by step before handing over to independent practice.

Barak Rosenshine’s Principles of Instruction
Barak Rosenshine (1930–2017) was an American educational psychologist whose research focused on effective teaching. Drawing on classroom observation, cognitive science, and teacher expertise, he developed the Principles of Instruction—ten practical guidelines that highlight what the most effective teachers do.

These principles emphasise reviewing prior knowledge, presenting material in small steps, checking for understanding, guiding practice, and ensuring all students are successful before moving to independence. They’ve since become a cornerstone of explicit teaching and evidence-informed practice worldwide.
What is Providing Models?
Barak Rosenshine’s fourth principle of instruction highlights the importance of showing students what success looks like and how to get there. Instead of leaving learners to figure things out independently, teachers explicitly demonstrate the process. This often takes the form of worked examples, think-alouds, and annotated exemplars. It helps you to reveal not only the process, but the reasoning, strategies, and steps that lead to it.
“Students need cognitive support to help them learn to solve problems. The teacher modeling and thinking aloud while demonstrating how to solve a problem are examples of effective cognitive support.”
Here are the main components of an effective modelling process:
Show the Whole Process: Show what success looks like from start to finish.
Chunk into Steps: Break task into manageable parts to reduce cognitive load.
Make Thinking Visible: Narrate decisions, strategies, and reasoning.
Use Multiple Examples: Provide varied and partially completed models.
Check Understanding: Pause to question, probe, and involve students actively.
We Do → You Do Loops: Alternate shared practice with independent attempts.
Fade Support: Gradually remove scaffolds until students work independently.
So why is this so important? Let’s dip our toes into the research…
Why is Providing Models Effective?
Without modelling, students can quickly become overloaded, trying to process new information without an idea of success. Breaking down tasks into clear, manageable steps reduces cognitive load and gives students an anchor for their thinking.
What’s more, modelling also helps students see expert decision-making in action—externalising expert knowledge helps to bridge the gap between novice and expert. Modelling communicates standards of quality: students understand what excellence looks like, why it matters, and how it can be achieved.
In his paper, Barak Rosenshine explains the importance of worked examples on cognitive load:
“Worked examples (such as a math problem for which the teacher not only has provided the solution but has clearly laid out each step) are another form of modeling that has been developed by researchers. Worked examples allow students to focus on the specific steps to solve problems and thus reduce the cognitive load on their working memory.”
In short: worked examples are step-by-step demonstrations of how to solve a problem or complete a task. By laying out each stage clearly, they reduce the load on working memory so students can concentrate on understanding the process and principles involved.

So, how do we ensure modelling isn’t just a quick demo at the board, but a bridge from novice to expert thinking?
Let’s explore.
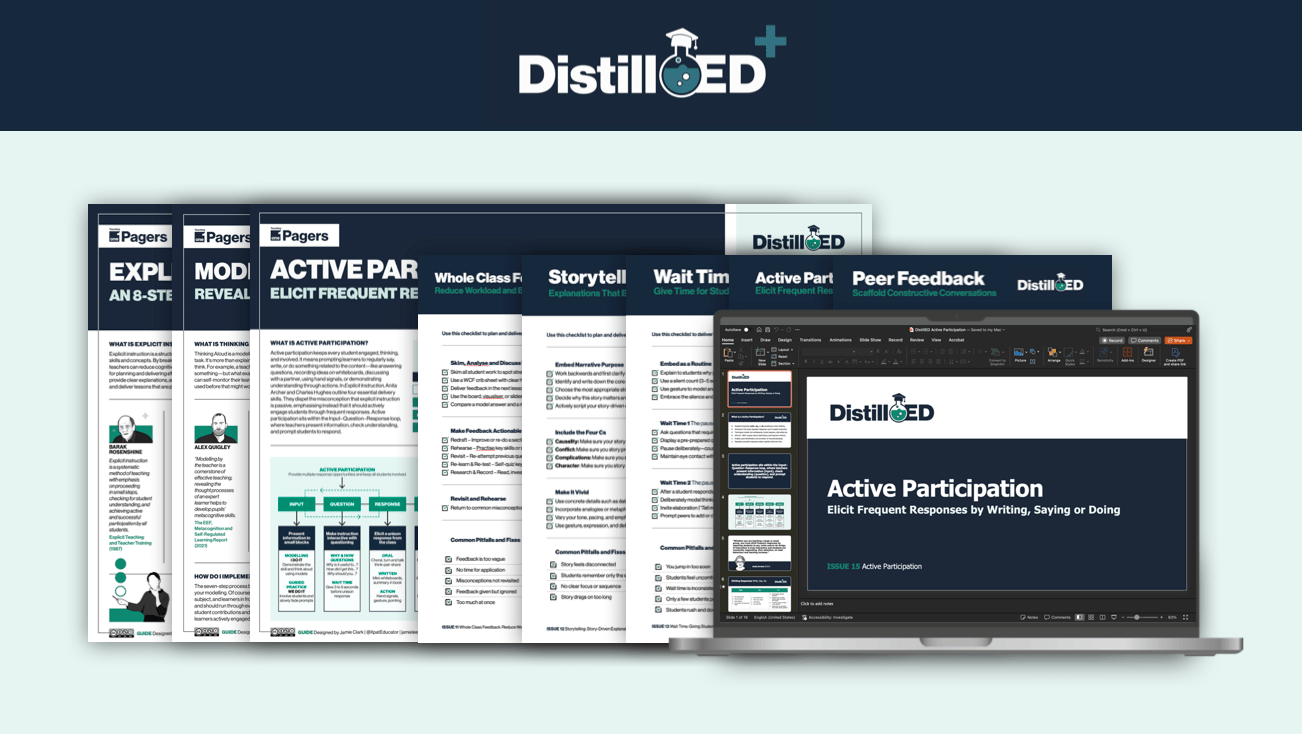
DistillED+ PD Resources
Did you know, DistillED+ subscribers get instant access to exclusive PD resources such as new one-page guides, checklists and PowerPoint slides?

How Do I Provide Effective Models?
Effective modelling is not a one-off demonstration—it’s a gradual handover. Start by showing the whole process at normal speed, then slow it down, narrating your decisions along the way. Break the task into smaller steps that can be practised in isolation before reassembling. Use multiple worked examples, including partially completed ones, so students can fill in gaps as confidence grows.
The Gradual Release of Responsibility framework helps here: students move from explicit instruction (“I Do”) to guided practice (“We Do”), and finally to independent work (“You Do”). This process is not strictly linear—teachers may need to move back and forth between stages based on student needs. If misconceptions arise during independent work, scaffolding can be temporarily reintroduced to ensure support at the right moments.

Run short We Do → You Do loops, alternating guided practice with independent attempts, until students are ready to take full ownership. And always remember to fade support—like stabilisers on a bike—so learners can eventually ride unaided.
Modelling Formats
Modelling isn’t just “showing how it’s done once.” Tom Sherrington and Rosenshine both emphasise the importance of variety and gradual handover—so students see, hear, and practise success in multiple ways.
Here are some options:
Live Worked Example: Teacher demonstrates the full process start-to-finish, narrating key decisions.
Think-Aloud: Teacher verbalises thought process—why a method, structure, or example was chosen.
Compare and Contrast: Show strong and weak exemplars side by side; discuss why one succeeds.
Joint Construction: Teacher and students co-construct a model together before students try alone.
We Do → You Do Loops: Alternate between guided modelling and short bursts of independent practice.
Exemplar Annotation: Show a finished piece and highlight the features that make it effective.
So, here’s a simple process for embedding effective modelling into your teaching practice:
Step | Explanation | Example |
|---|---|---|
1. Show the Whole Process
| First demonstrate the entire task at normal speed so students see what success looks like. Then repeat slowly, highlighting key moves. | “Watch me solve this problem first. Now let’s go through it again step by step.” |
2. Break into Practicable Steps
| Divide the process into smaller components that students can practise separately before combining into the whole. | “Let’s just practise writing the opening sentence. Once we’ve nailed that, we’ll build the full paragraph.” |
3. Narrate Your Thinking
| Think aloud to reveal decision-making—why you choose certain methods, structures, or examples. | “I’m choosing this quote because it supports my argument. Notice how I introduce it with context.” |
4. Use Multiple Worked Examples
| Show varied examples so students can spot what changes and what stays constant. Provide partially completed models for scaffolding. | “Here’s another fraction problem—this time, you finish the last two steps.” |
5. Guide Through We Do → You Do Loops
| Alternate between teacher-led guidance and independent attempts, looping back as needed to secure fluency. | “We’ll solve this one together. Now, try the next one on your own—I’ll circulate to check.” |
6. Fade Support
| Gradually strip away prompts, sentence starters, or worked stages until students perform independently. | “This time, no sentence starters—use your own structure to write the response.” |
A well-crafted model can make the difference between surface imitation and genuine mastery.
Until next time — keep modelling, keep guiding, and keep learning visible!
Jamie
Where can I find out more?
Model-Compare-Improve Worksheet (Free Download)
To support your use of modelling, I’ve created a simple worksheet where you can place a strong and weak exemplar side by side. It includes prompts for students to spot the key differences, discuss why they matter, and then rewrite the weaker version. Perfect for helping learners understand what quality looks like — and how to achieve it.

Checklist and Slideshow
This week’s ⚗️DistillED+ resources are a Providing Models Checklist and a CPD Slideshow. Together, they walk through the WHAT, WHY, and HOW of using modelling to make thinking visible, reduce cognitive load, and guide students step by step from novice to expert.
Upgrade to ⚗️DistillED+ to download the content.

Upgrade to DistillED+ to get this content!
Join DistillED+
Members gain access to expertly curated digital evidence-informed content
UPGRADEA ⚗️DistillED+ subscription gets you:
- Full access to new premium one-page guides
- Full access to evidence-informed strategy checklists
- Full access to slide templates (PowerPoint and Keynote)


