👋 Greetings {{first name | friend!}}
In this edition of ⚗️DistillED, we explore eight key principles of any explicit instruction sequence to break learning into clear steps, build confidence, and ensure every student masters new skills.
Consider this your roadmap for lessons that feel structured and purposeful.
Let’s get started…
What is explicit instruction?
If you’ve somehow missed it, then explicit instruction is a systematic, direct approach to teaching where the teacher clearly shows students what to do and how to do it, instead of leaving them to figure it out on their own.
Essentially, explicit instruction is characterised by:
Breaking learning into small, manageable steps
Providing clear explanations and modelling
Offering frequent opportunities for guided and independent practice
Giving immediate feedback and checking for understanding
“A systematic method of teaching with emphasis on proceeding in small steps, checking for student understanding, and achieving active and successful participation by all students.”
This 8-step sequence distils these principles into a practical structure which can be used to plan daily lessons:
Retrieval and warm-up
Prerequisite checks
Clear goals and relevance
Step-by-step modelling
Guided practice
Independent practice
Small-group support
Review and consolidation
DistillED+ subscribers get instant access this exclusive A3 one-page guide which captures the 8-step lesson sequence. You can upgrade here.
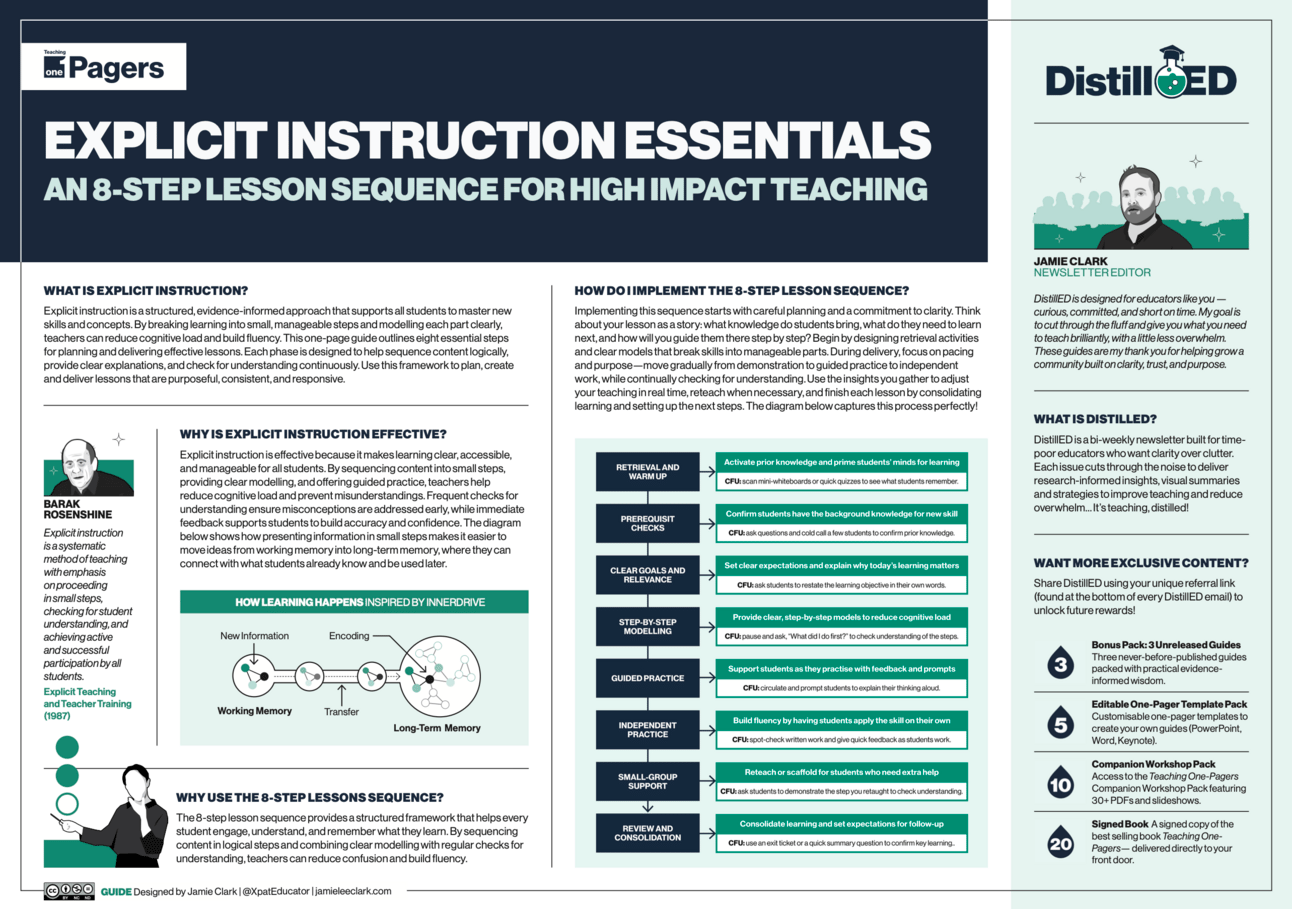
Subscribe to DistillED+ to get this new A4 one-page guide
Why is explicit instruction effective?
Explicit instruction is one of the most well-supported approaches in education.
A key reason for this is that it reduces cognitive load. By breaking learning into small, manageable steps, providing clear explanations, and modelling each part, explicit instruction frees up students’ working memory to focus on understanding rather than guessing what to do.
“Explicit instruction helps manage cognitive load by guiding students’ attention to the most important elements of what is being learned.”
When only a little is taught at a time, or learning is broken into clear steps, students can easily build fluency and confidence without feeling overloaded.
This makes it easier to move ideas from working memory into long-term memory, where they can connect with what students already know and be used later. This process is visualised in the diagram below.

Diagram inspired by InnerDrive!
So, how do we effectively implement the main 8 ingredients of explicit instruction to maximise student achievement?
Let’s find out…
How do I implement the 8 step sequence effectively?
The eight-step approach below is a useful starting point when you’re ready to make explicit instruction an intentional part of your classroom practice.
Note that Checking for Understanding (CFU) is a thread that runs through almost every step, rather than being a standalone stage. You can do this by:
Asking frequent questions to gauge understanding
Listening to partner talk or group discussions
Circulating to observe written work
Using mini-whiteboards or visual signals to check responses in real time
The diagram below shows how CFU can apply to each phase of the process:
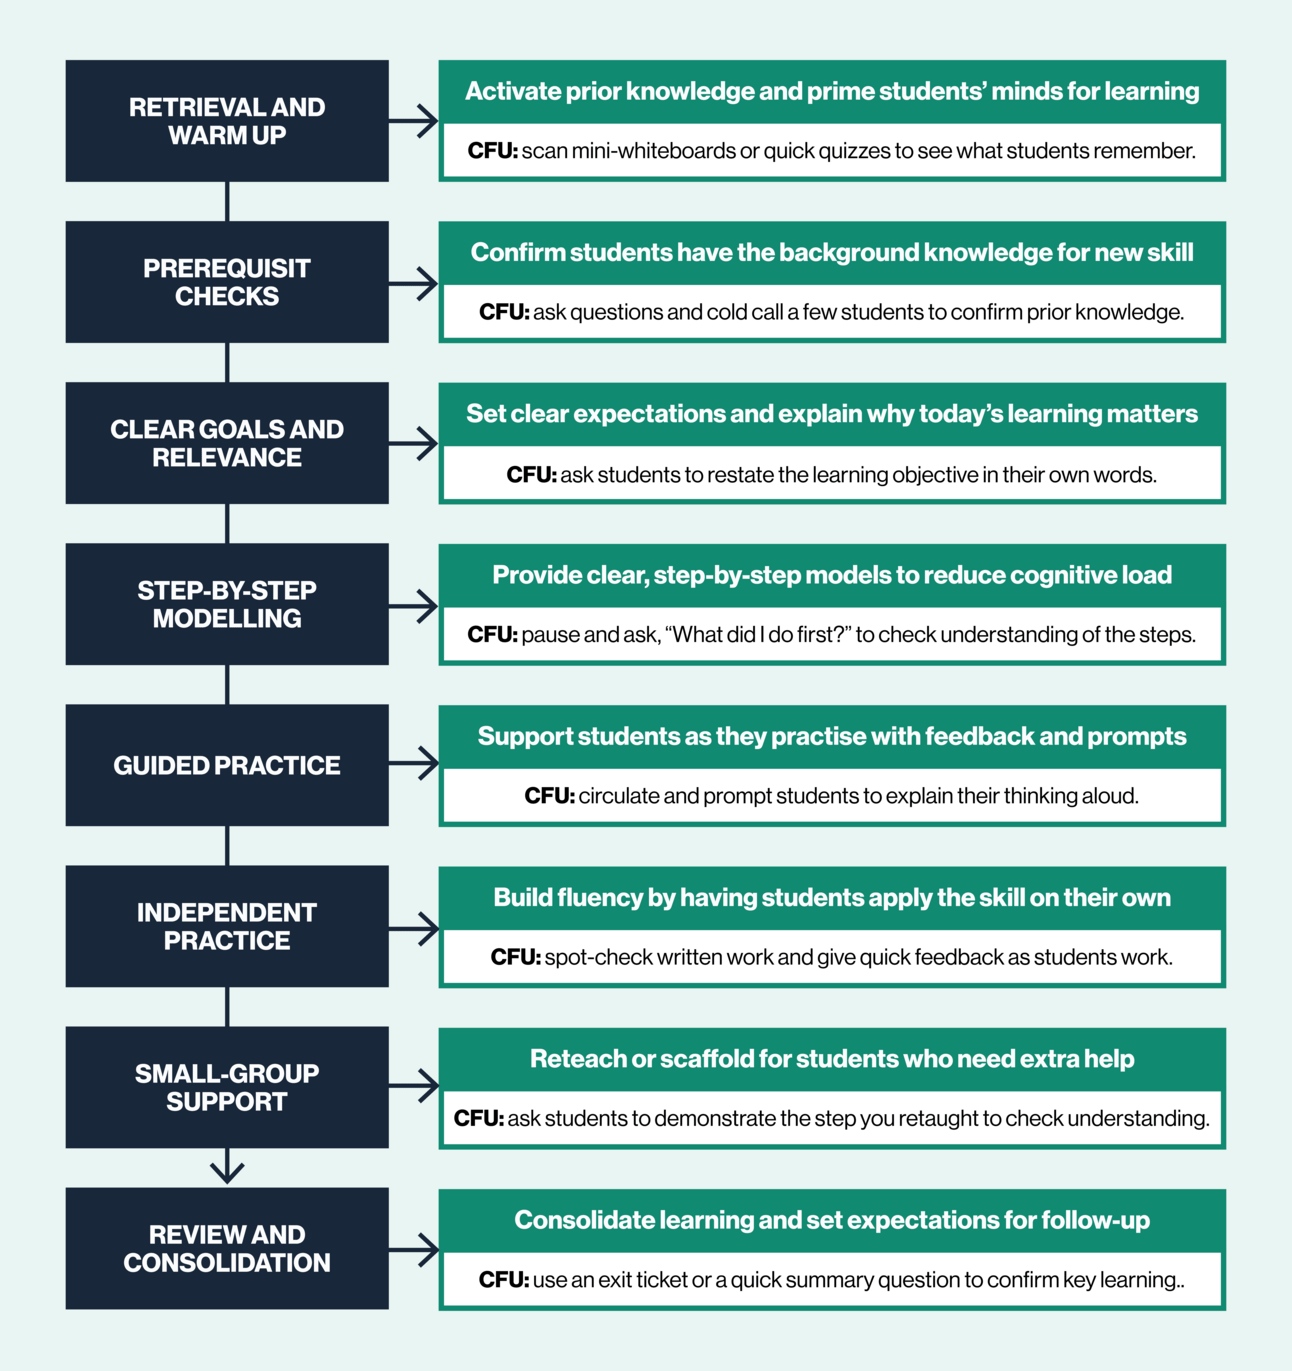
This constant feedback loop helps you spot misconceptions early and adjust your teaching so that every student is ready to move forward. Here’s a more comprehensive breakdown:
Step | What you might do | What you might say |
|---|---|---|
1. Retrieval Warm-Up
| Prepare 5 quick review items such as quiz questions that revisit prior skills or concepts. Use this time to spot gaps before introducing new content. | “Let’s start by answering these five review quiz questions on the board to refresh what we learned yesterday about persuasive techniques.” |
2. Check Prerequisites
| Ask targeted questions that test essential prior knowledge. Clarify or reteach any gaps before introducing new material. | “Before we move on, who can remind us what a topic sentence does in a paragraph?” |
3. Establish Goals and Relevance
| Clearly state the learning objective and connect it to future lessons or real-world uses, e.g., preparing for an assessment or improving writing for audience impact. | “Today, we’re learning how to plan and write persuasive introductions so your arguments are clear and convincing.” |
4. Model the Skill → Purpose: Provide clear, step-by-step demonstrations to reduce cognitive load. | Model each step out loud. Use worked examples (and non-examples) to illustrate what success looks like. Break complex tasks into simple, sequential actions. | “Watch as I write an example introduction on the board. Notice how I start with a clear opinion and preview my reasons.” |
5. Guide Practice → Purpose: Support students as they practise with feedback and prompts. | Work through another example as a class. Prompt students to contribute ideas, check understanding frequently, and provide immediate feedback. | “Let’s write a second introduction together. Turn and tell your partner how you’d start.” |
6. Independent Practice → Purpose: Build fluency by having students apply the skill on their own. | Set an independent task. Circulate to observe, prompt, and give quick feedback to keep everyone on track. | “Now, write your own introduction in your exercise books. Use the checklist on the board to help you.” |
7. Small Group Support → Purpose: Reteach or scaffold for students who need extra help. | Gather students who struggled. Provide additional modelling, simplified examples, or sentence starters to boost confidence. | “If you’d like extra help, come to the back table and we’ll practise writing introductions together.” |
8. Review and Assign Practice → Purpose: Consolidate learning and set expectations for follow-up. | Summarise the key points as a class. Assign homework or next steps to reinforce and embed learning. | “Before we finish, let’s review what makes a strong introduction. For homework, write another introduction using today’s steps.” |
Until next time — stay curious, stay clear!
Jamie
Where can I find out more?
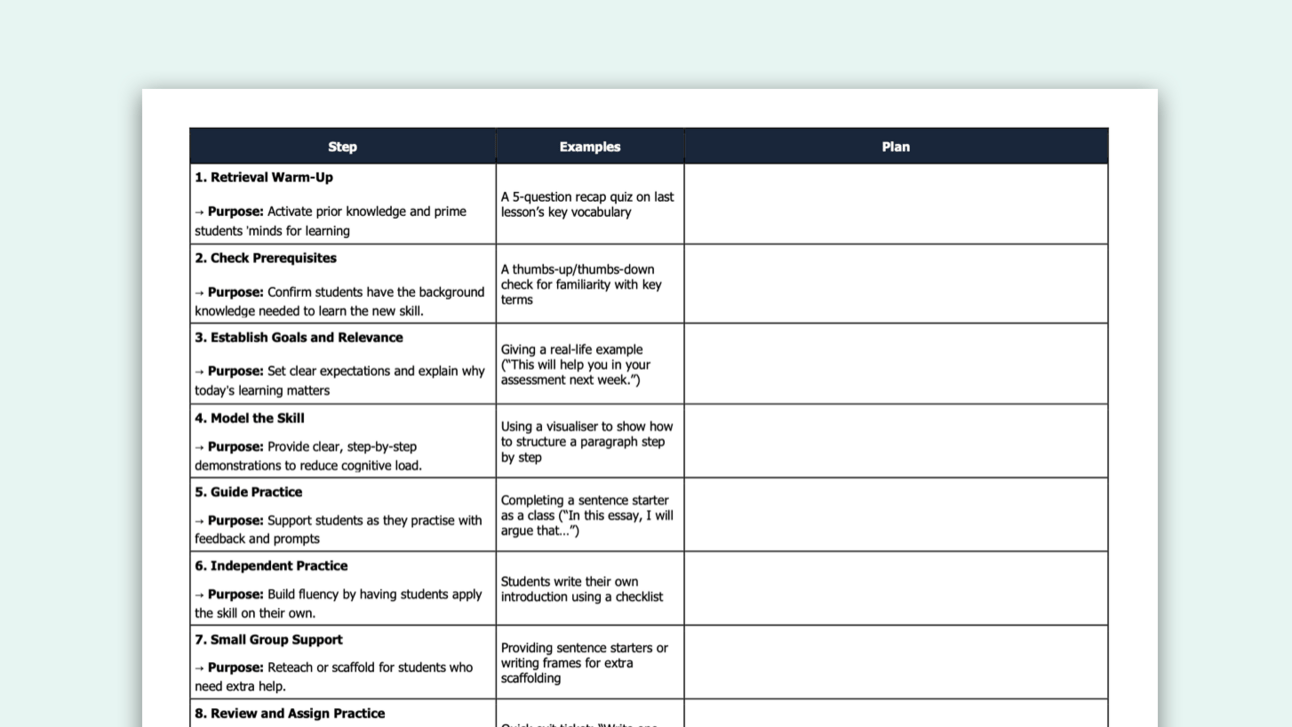
The 8 Step Lesson Sequence Plan
To support your planning and implementation of the of 8 step lesson sequence, I’ve created this free planning document. Give it a go!
Guide, Checklist and Slideshow
This week’s ⚗️DistillED+ resources are a brand new one-page guide, checklist and PowerPoint slideshow for teacher CPD. They include the WHAT, WHY and HOW of explicit instructions and the eight steps to maximise learning.
Upgrade to ⚗️DistillED+ download the content.
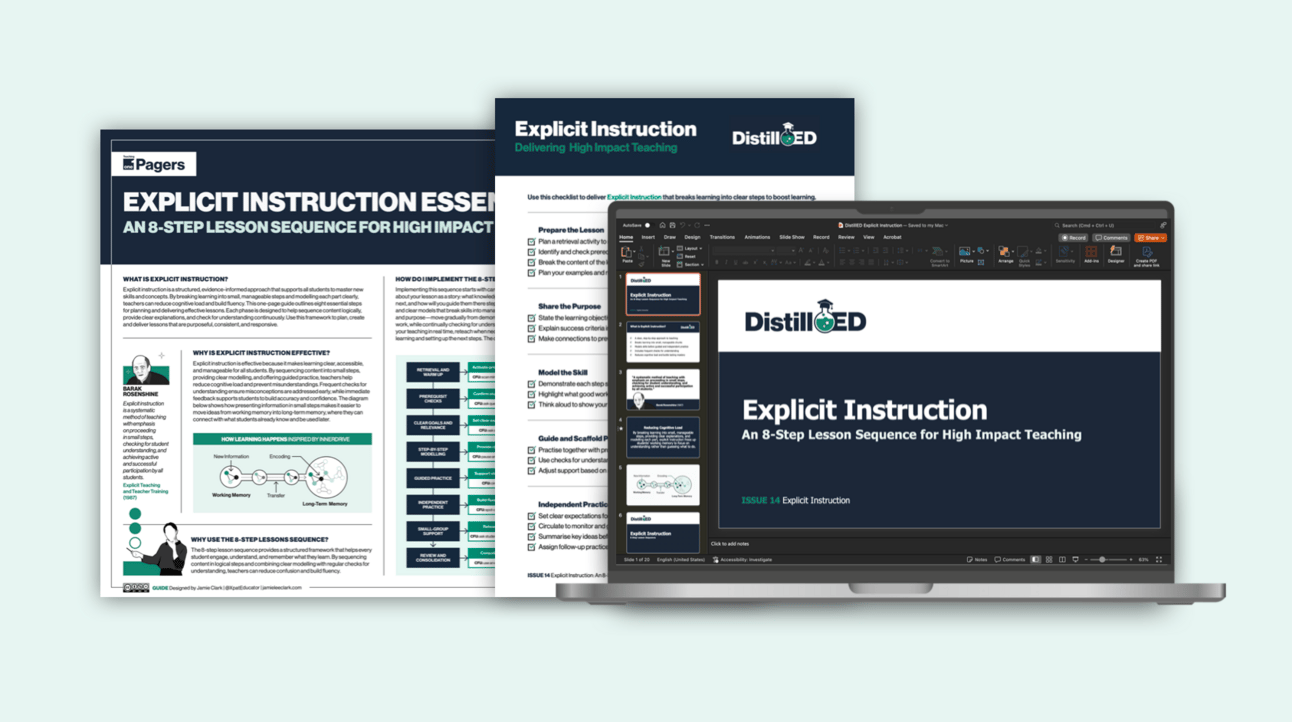
Upgrade to DistillED+ to get this content!
Join DistillED+
Members gain access to expertly curated digital evidence-informed content
UPGRADEA ⚗️DistillED+ subscription gets you:
- Full access to new premium one-page guides
- Full access to evidence-informed strategy checklists
- Full access to slide templates (PowerPoint and Keynote)


